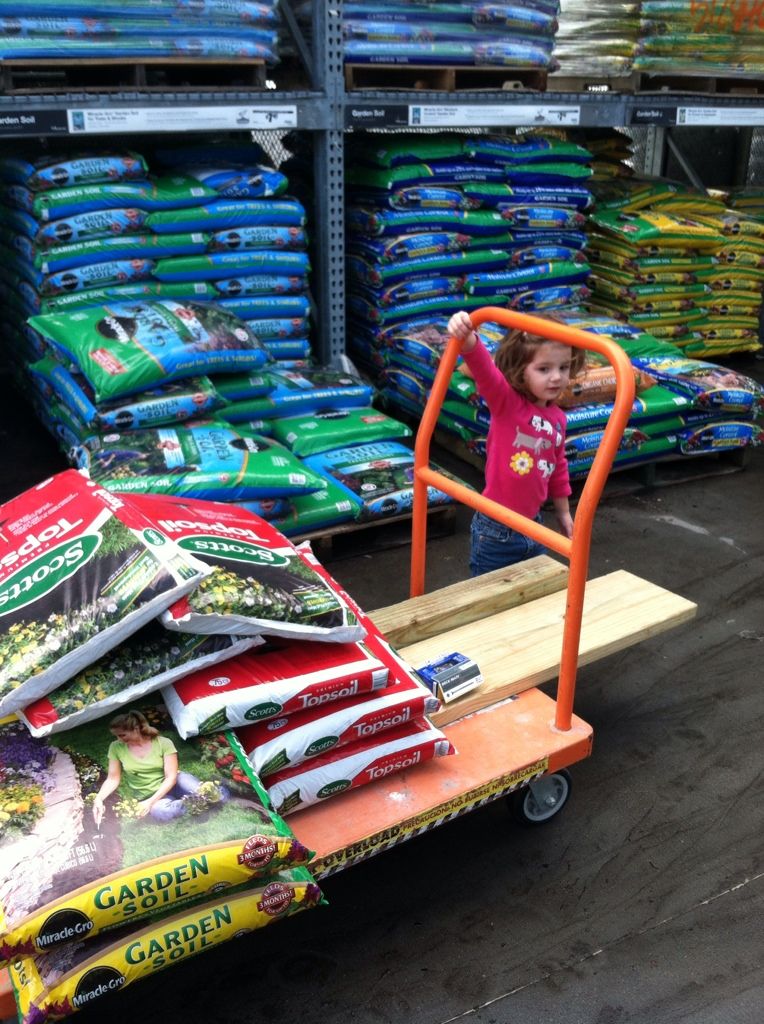
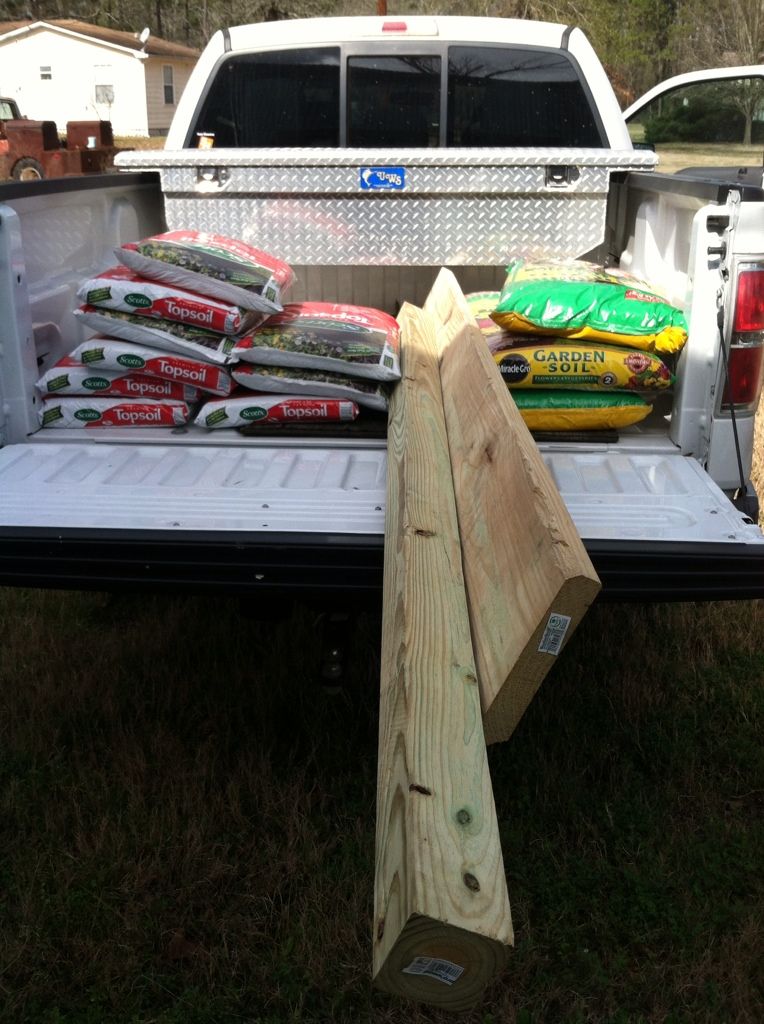
For my first project this Spring, I conquered something that I've been wanting to do for awhile now; a garden. Every Spring I get the idea but never get around to accomplishing it. Part of the reason why I never do it is because the thought of wripping up the ground and creating a garden is SO much work. With a little one running around and getting into stuff constantly, I don't really have the time to work hours on end on this thing. So, after some Pinterest'ing, I came across Raised Gardens. You create a garden on top of the existing ground. You can create just the right soil you want, in the exact place you want, without messing up the ground or doing all the backbreaking work. Perfecto. I'm going to share with you how I made and set up mine. This is my first round at gardening so keep in mind that this isn't pro's work ;) just a rough idea you can turn into your own. What you need: Boards. My garden is 4x4 so I used 4 10in wide boards.ScrewsPosts. (If you want it to be anchored into the ground) The length of the board should be indicative of how deep you want your posts to be. I did 2' posts, so I used a 8ft board and cut it.Mulch/Soil. I used Miracle Gro Garden soil (3, 2 cubic ft bags), and Scott's Premium Topsoil (6, .75 cubic ft bags)Seeds/Plants
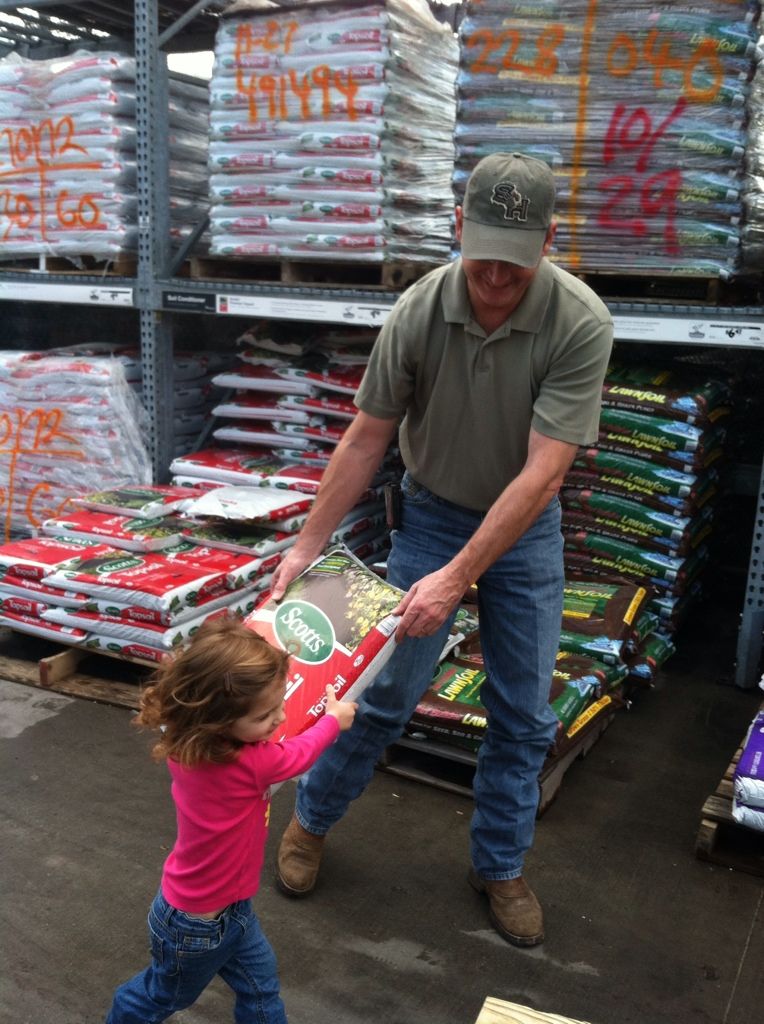
My helpers :)
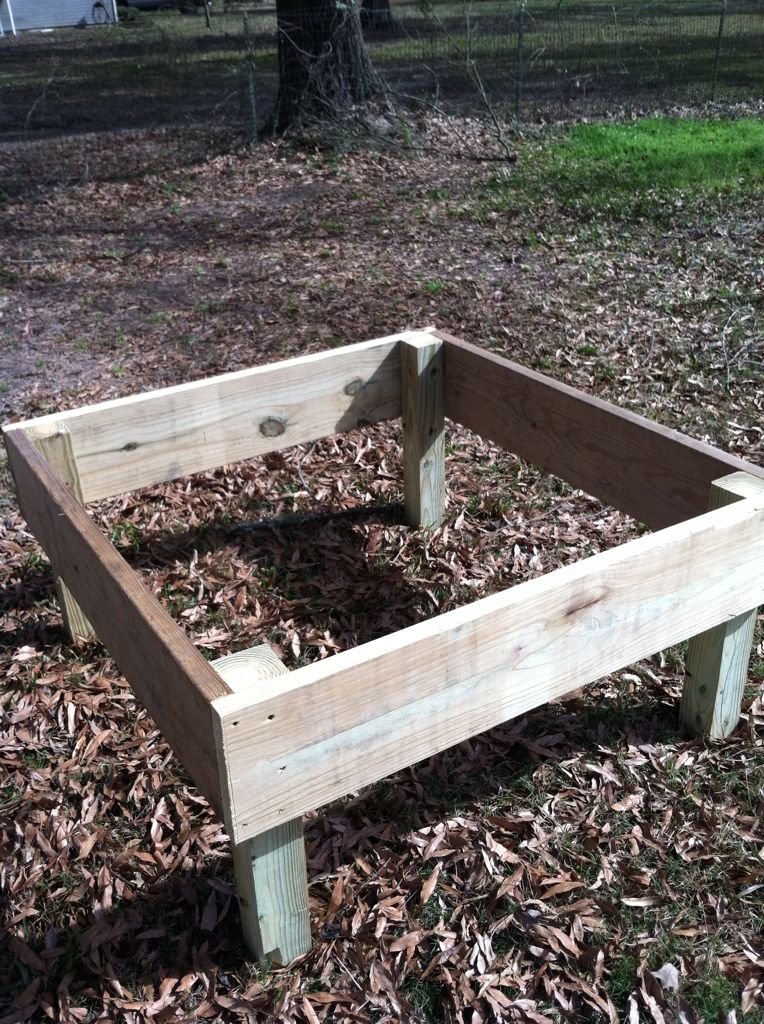
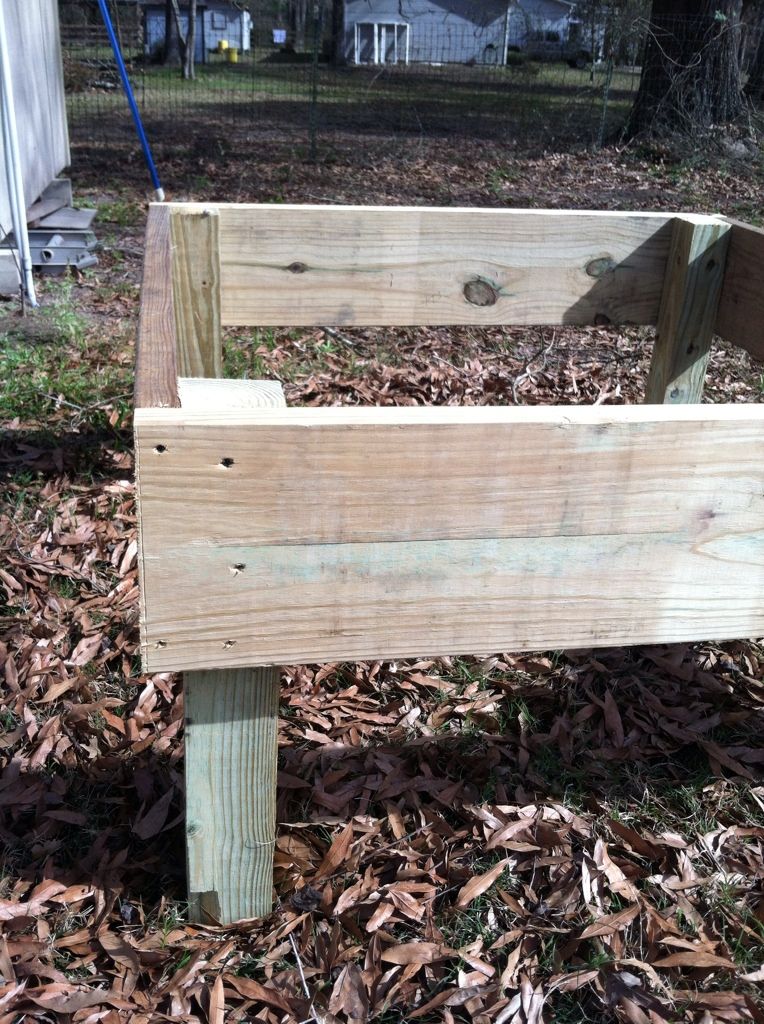
Set Up:Start by assembling the walls of the garden bed. I'm not a big carpenter, but it's cake. See the pictures to see where to insert the screws and how to line up the boards correctly. If you're using posts to anchor the bed to the ground, make holes in the ground where your posts should be and insert it.
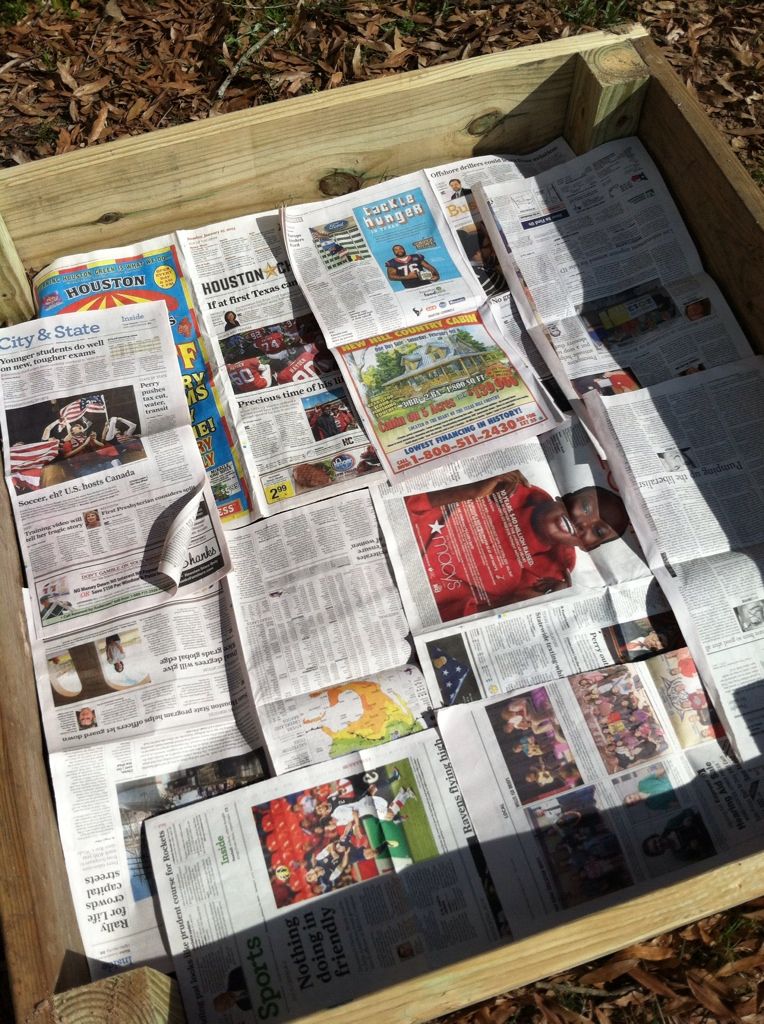
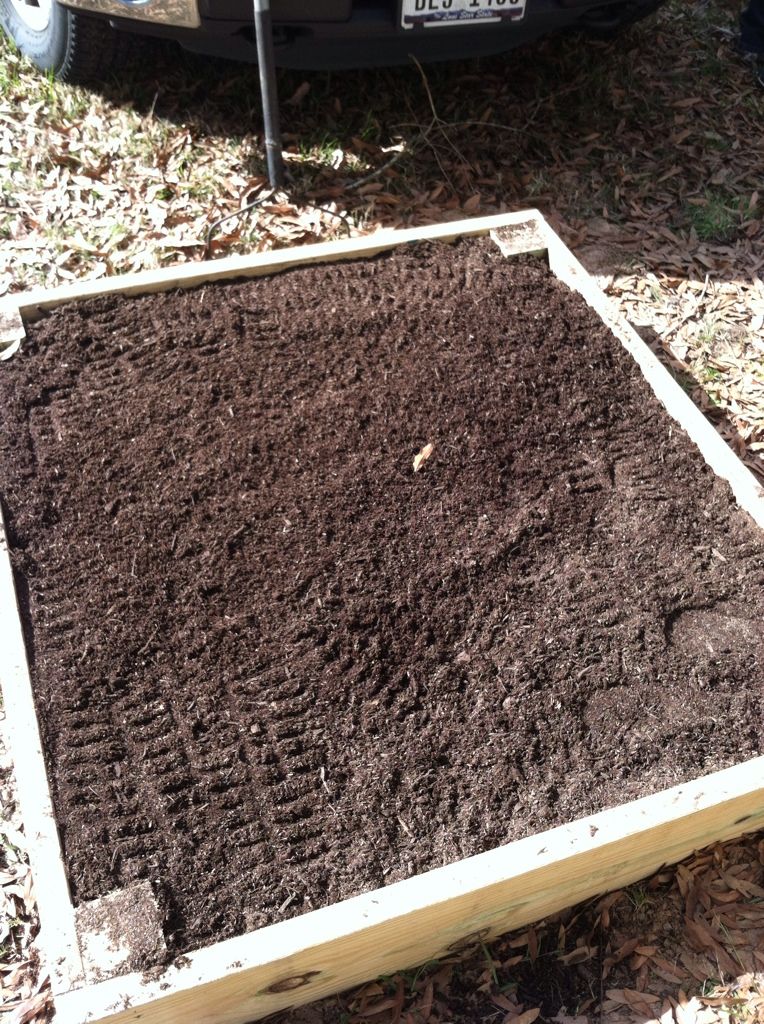
Next, you'll need to create some type of barrier between the earth and the soil. This keeps weeds from coming up into your soil. You can use weed blocking fabric, plastic, cardboard, or like I used... newspaper.
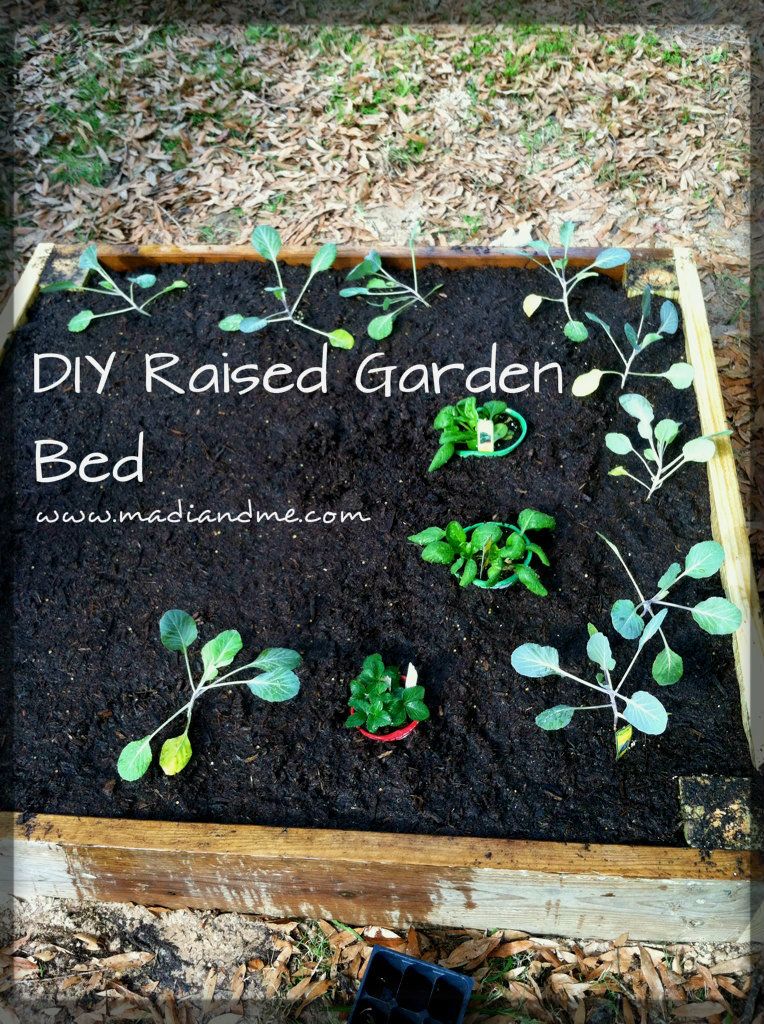
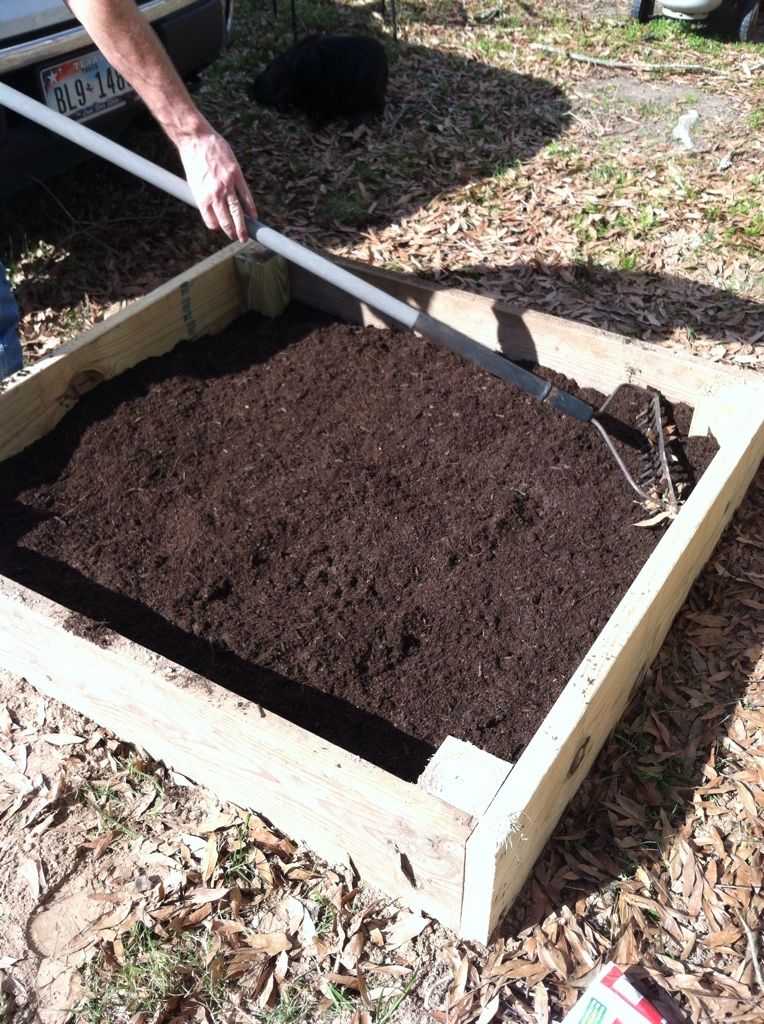
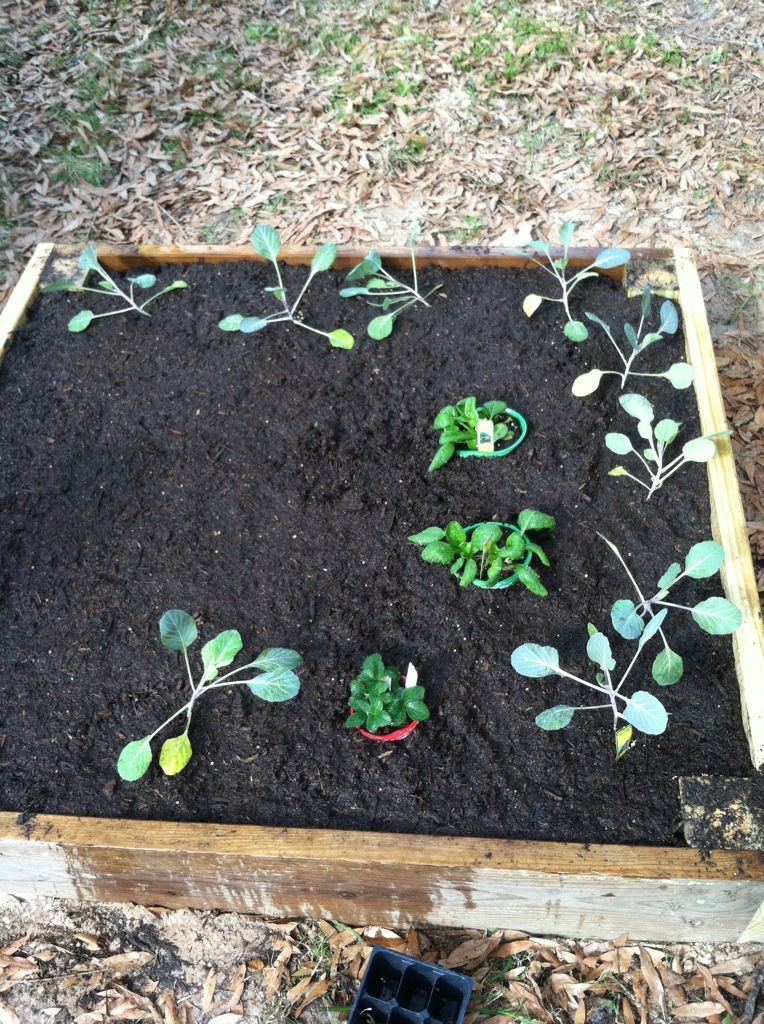
Then add your mulch and the plants/seeds that you want to put into it. And Voila! Easy as pie. Now you have a garden that you didn't have to rip up earth to get and can virtually be moved anywhere if needed.
Some tips:
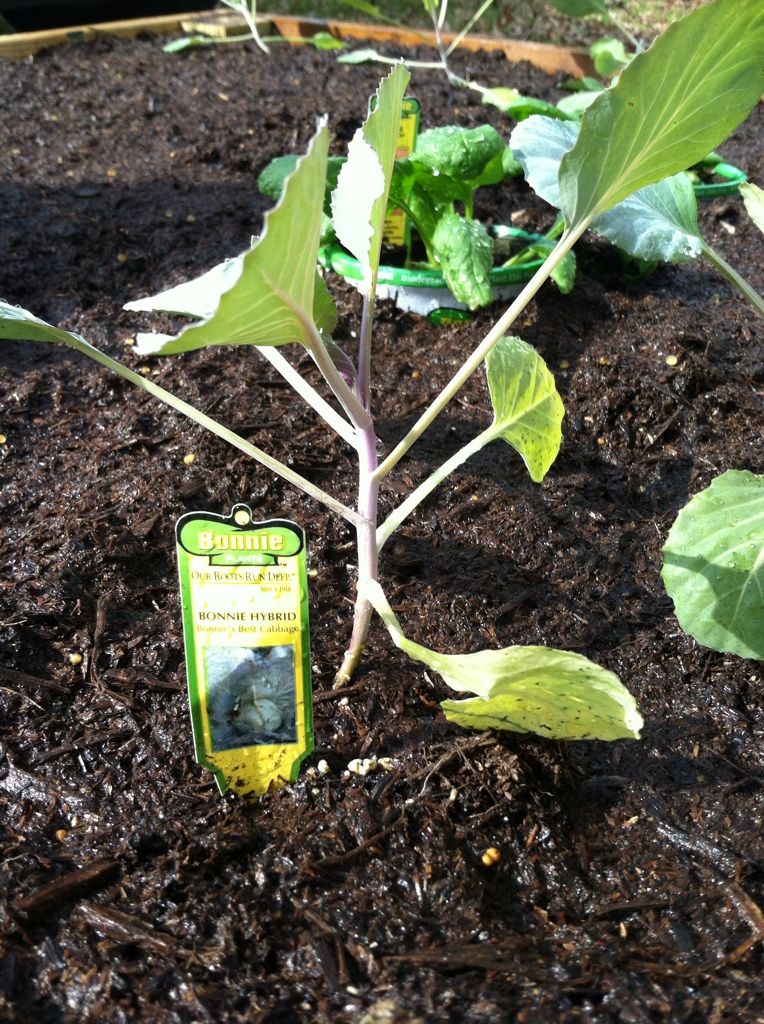
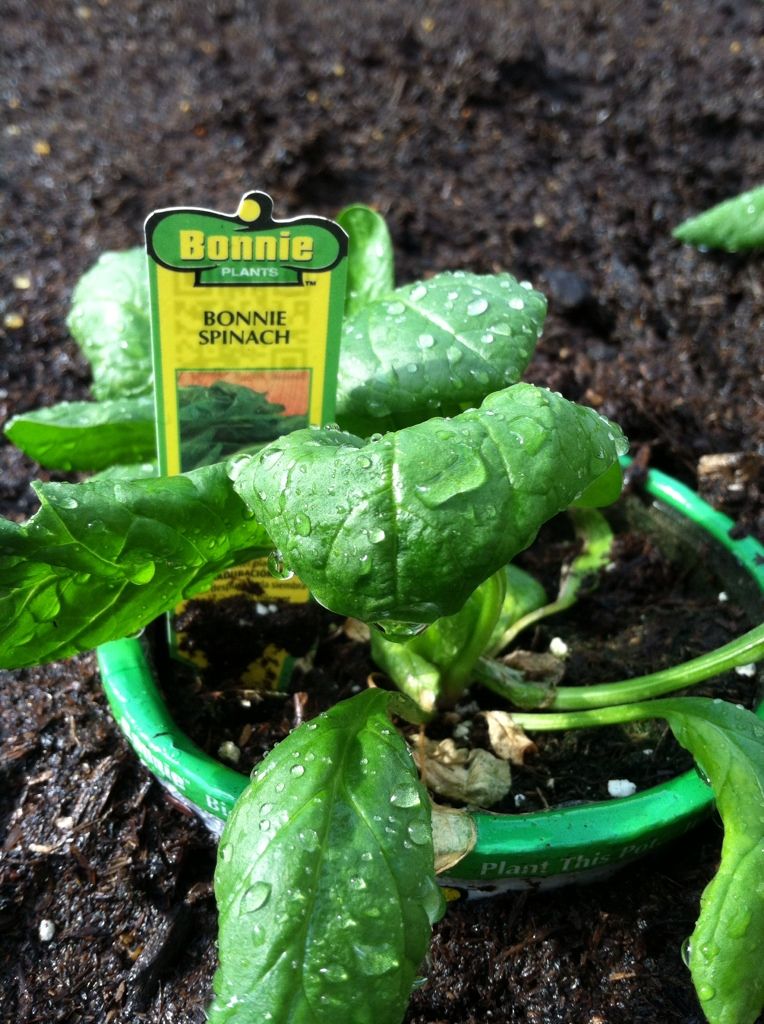
Get vegetables that can handle the cold. Look of the last frost dates for your area to see how long it will be until the cold temperatures head out. It's still a little early here for summer veggies so I planted spinach, cabbage, and strawberries and left some room for summer veggies to be planted when it's time. The ones that I planted can handle the chillier weather.
Put your garden in an area where there's a decent amount of sunlight. Veggies need about 7-8 hours per day of sunlight. Research your plants to see how much water they need. Some like a lot, and some don't.
I used a mixture of Garden Soil and Topsoil because Garden Soil has a lot of fertilizer. You don't want that to overpower your garden. Topsoil will bring it back down to a more mild level. Garden soil, top soil; 1, 3.
You can make the garden more shallow than 10in. I read that most should be planted 6-12in into the ground, so I went with 10. But it all depends on what you'll be planting there.
I hope that this tutorial helps, and that it inspires you to make one of your own! If you have done a project similar to this, post your link in the comments so we can all see! I'm planning on making mine a little bigger and making a little one for Madi. Also, an herb garden sounds nice too! I spotted some pallets in my Dad's shed and my gears are turning. Pinterest will be able to help me get some use out of them, I'm sure. But those projects are for later :)